Claim your HDX
You can claim your HDX with the xHDX tokens (ERC-20) that you have obtained in the period when our Balancer LBP was live.
Prerequisites
There are two prerequisites for claiming your HDX. In the first place, you need to install the Polkadot.js browser extension which will be used to create your HDX wallet. In the second place, you need access to your xHDX tokens which should be stored in a wallet supporting the signing of messages relating to ERC-20 tokens (e.g. Metamask).
If your xHDX tokens are stored in Coinbase Wallet or Trust Wallet, you will need to use one of the following workarounds for claiming your HDX, as these wallets do not support the signing of messages:
- Metamask: You can use the Metamask browser extension and import your wallet using the recovery seed phrase.
- MEW (MyEtherWallet): You can also use MEW by either importing your recovery seed phrase (Mnemonic Phrase) or by using the WalletLink connection option. Both options can be accessed from the MEW wallet access page. If you are using Coinbase Wallet, you can use WalletLink which you can find the Settings of Coinbase Wallet.
Claim process
After making sure that you have fulfilled the prerequisites described above, you can navigate to the HydraDX Claim app and proceed with the claim process.
During the claim process, you will use your xHDX tokens (ERC-20) to claim your share of HDX tokens.
00 Authorize
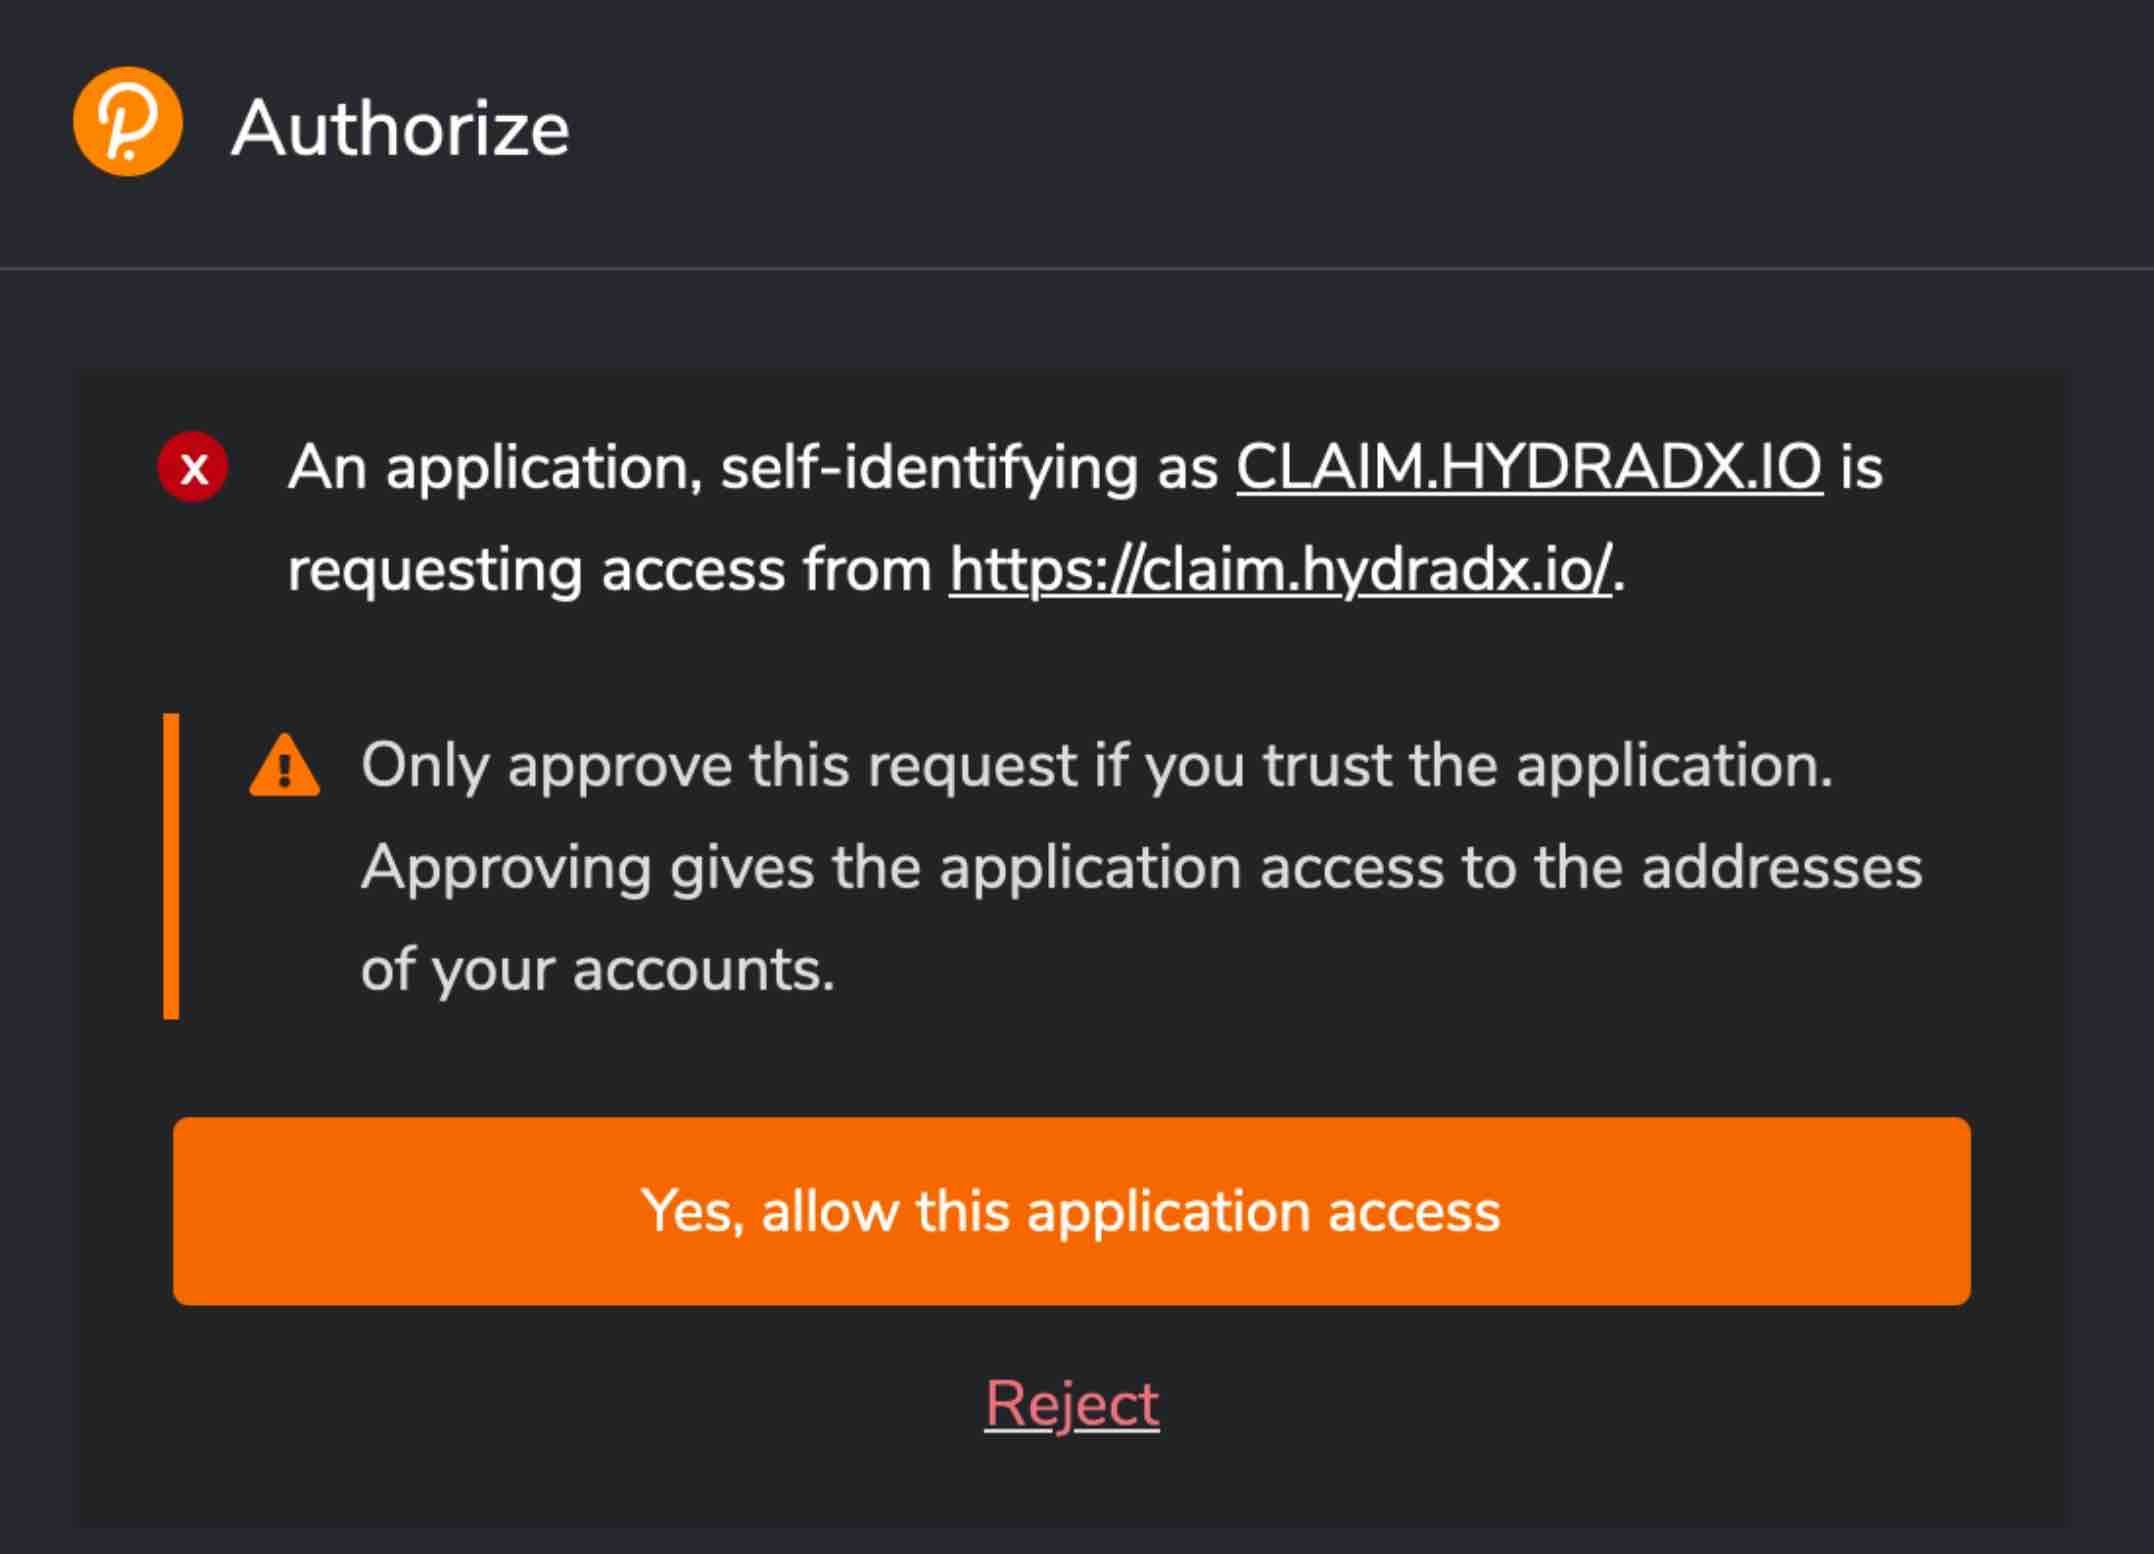
The HydraDX Claim app will request authorization from the Polkadot.js browser extension.
Make sure that you are not the victim of a phishing attack and pay attention to the authorization popup: The application should be identifying itself as CLAIM.HYDRADX.IO and the request should be coming from https://claim.hydradx.io.
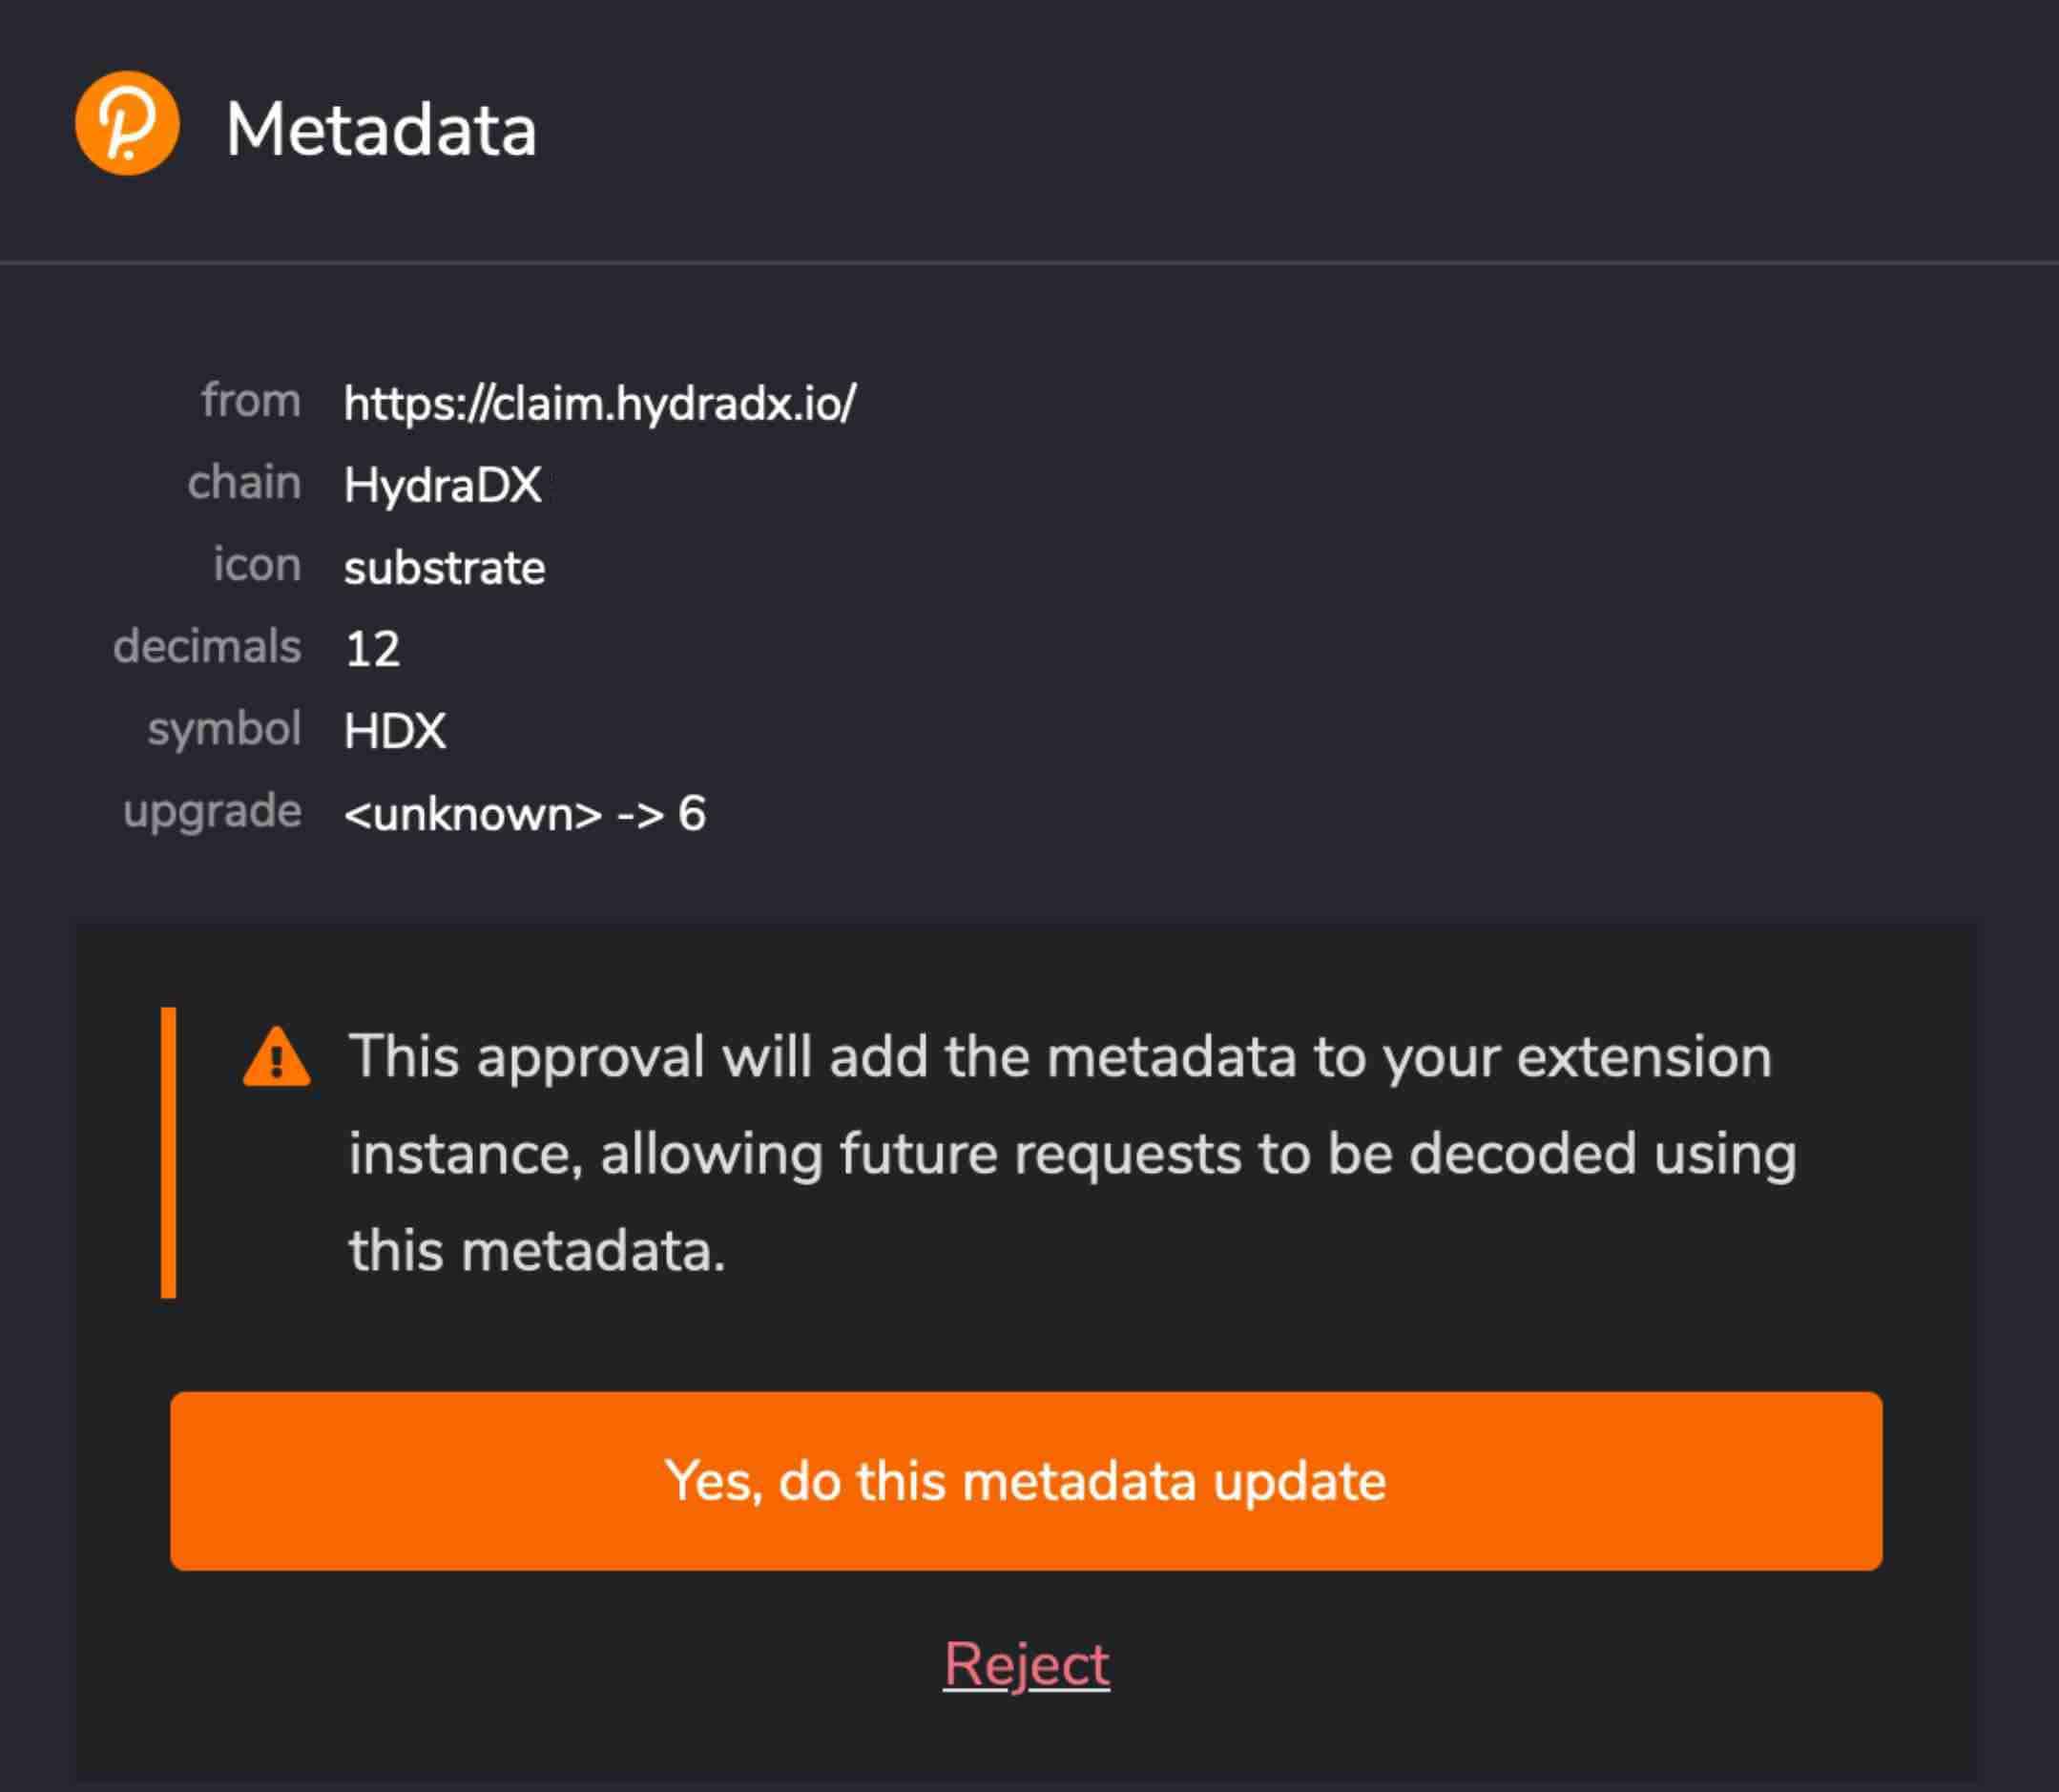
After authorizing, you will be prompted to update the metadata for the Polkadot.js browser extension. This will allow Polkadot.js to create HydraDX-specific addresses which are required to complete the claim process.
01 Select your ETH address
In the first step of the claim process, you will be asked to select the account holding your xHDX tokens. This can be done by either connecting to your wallet holding the ERC-20 tokens (e.g. Metamask), or by entering your ETH address manually in the input box (in that case you will need to sign the message manually later).
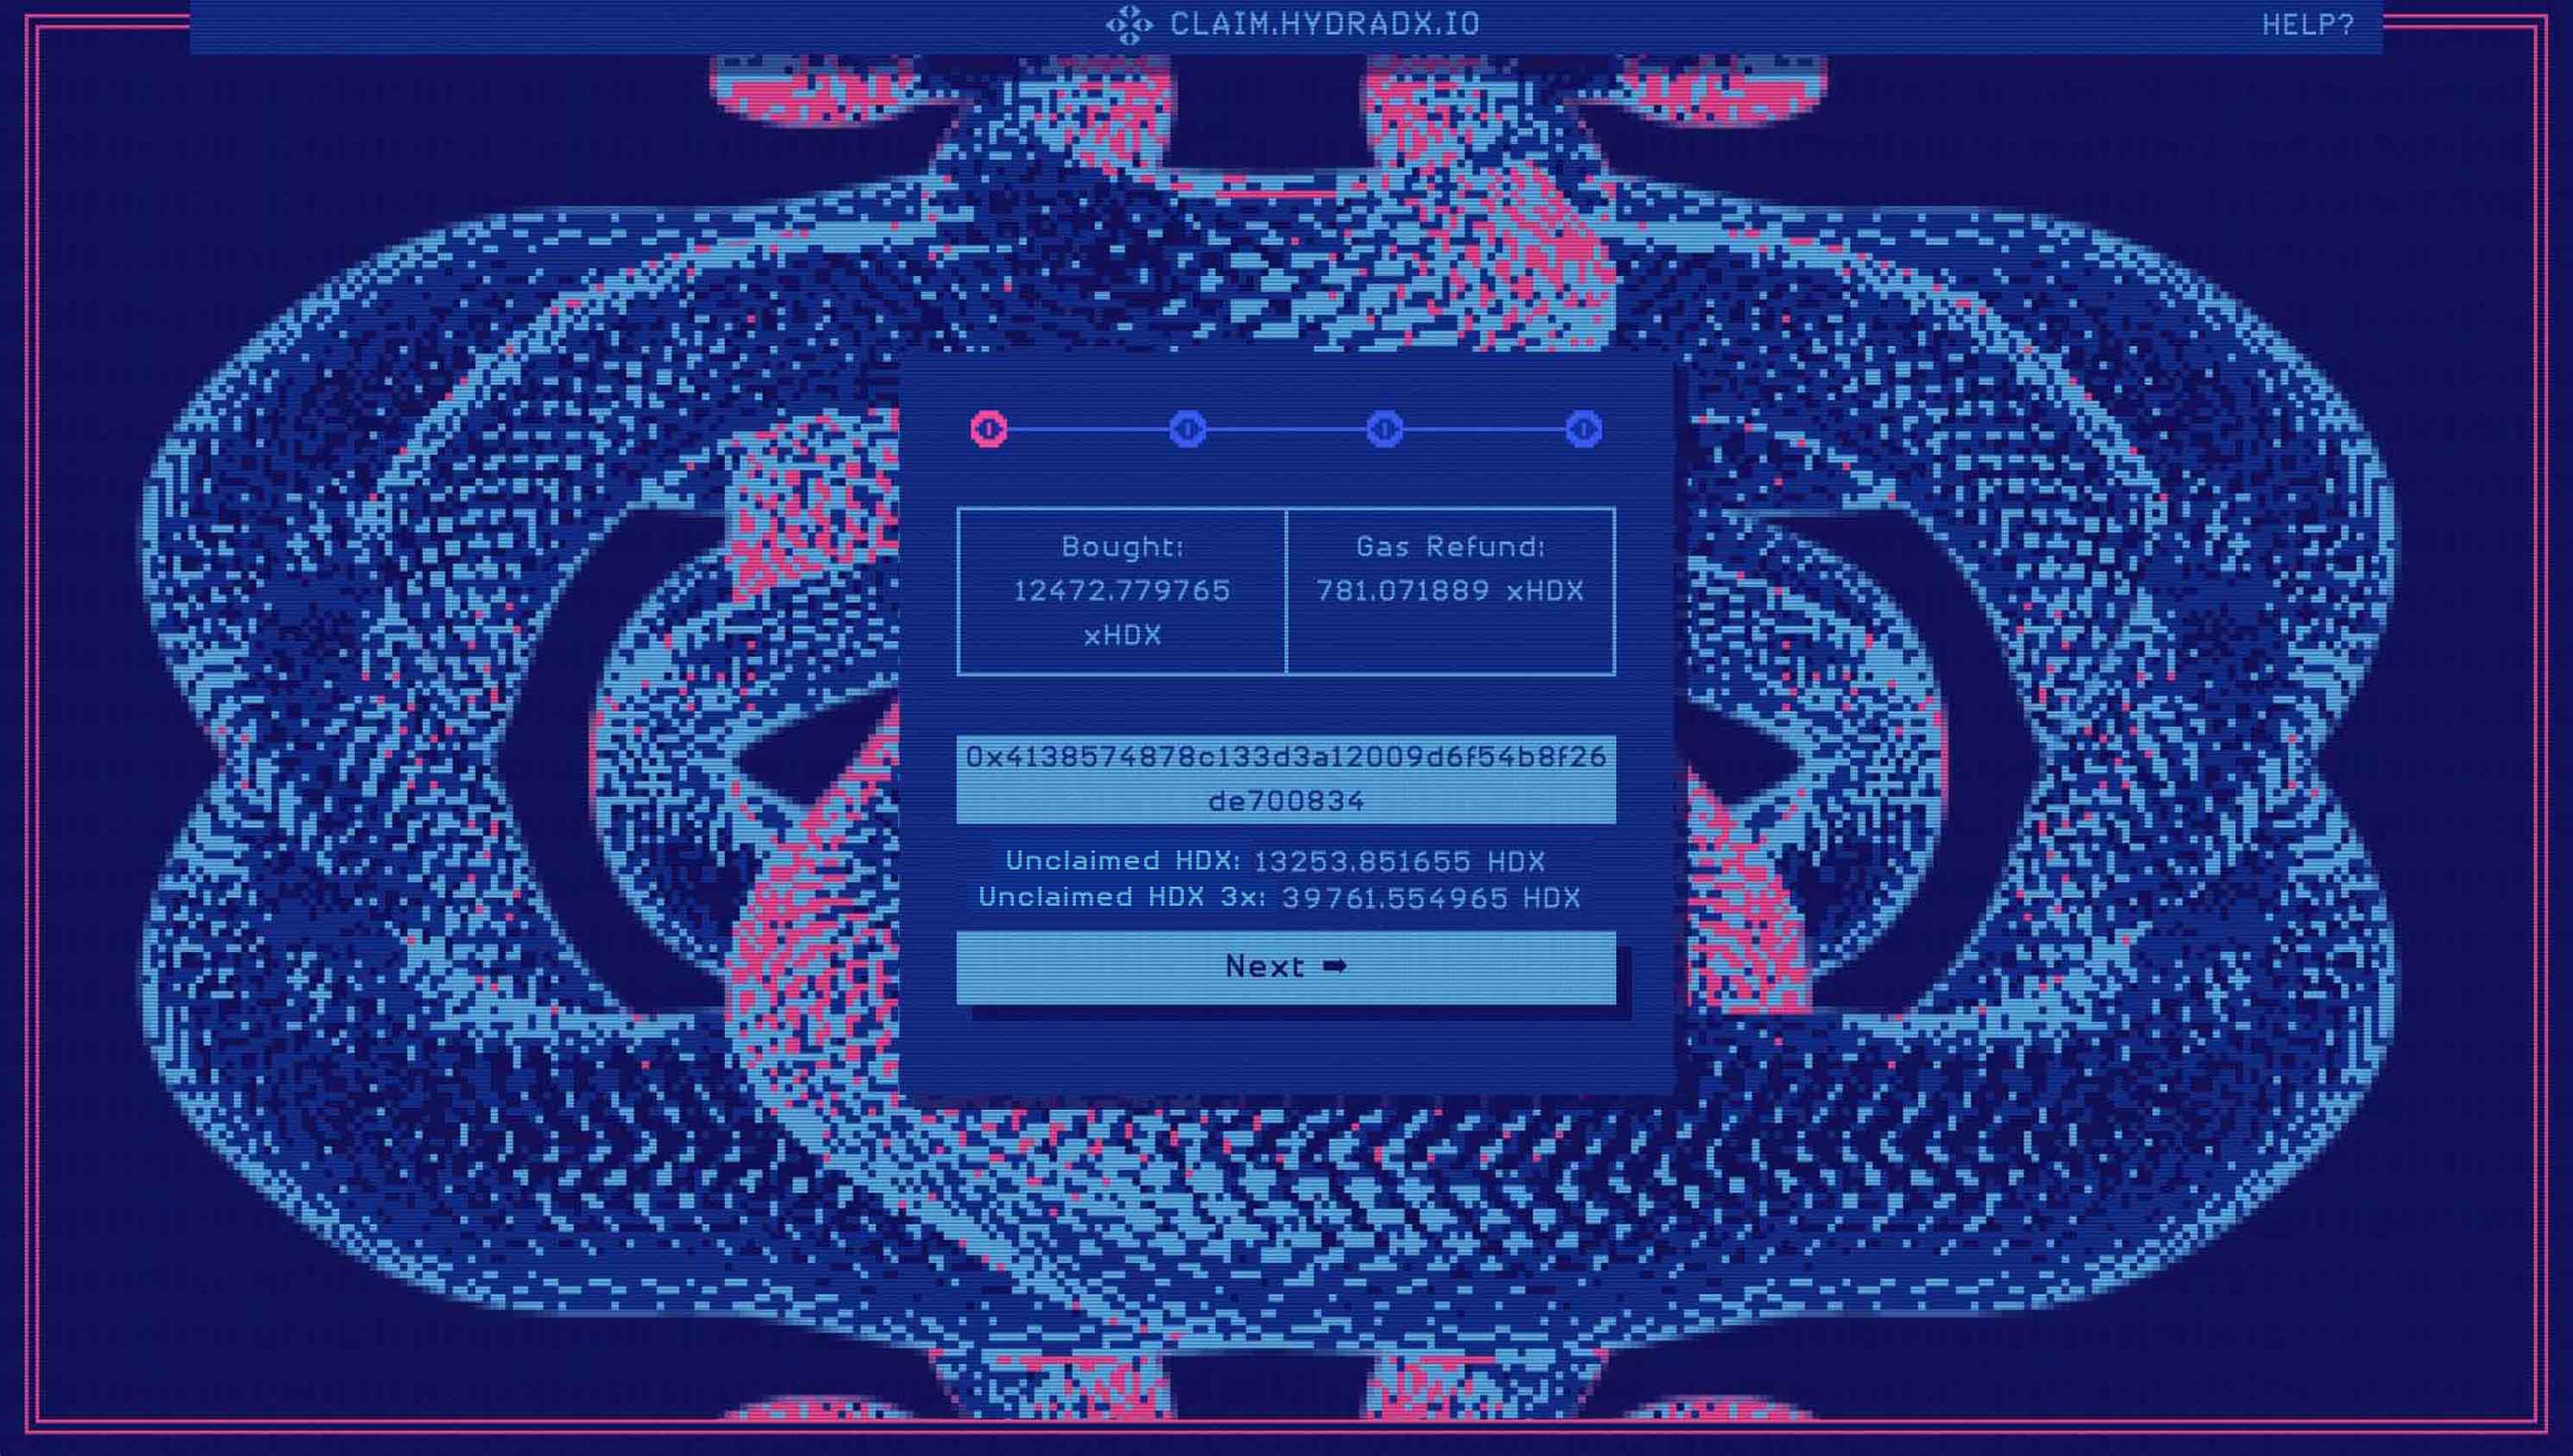
After entering your ETH address, you should see the balance of HDX tokens you can claim, including the refund of the gas fees that you have spent for obtaining your xHDX on Balancer.
You are not eligible for a gas refund if you have obtained your xHDX at some other place than the official Balancer pool (such as Uniswap), or if you have moved your tokens out of the original buying wallet.
02 Create and select an HDX address
In the second step, you will be asked to select your HDX address.
To create a new HDX address, open the Polkadot.js browser extension and click on the + sign to create a new account. In the first step of account creation, you will see the 12-word mnemonic phrase which can be used to recover your account. After saving your seed phrase in a secure place, click on Next step. Here, you should change the Network by selecting the option HydraDX Snakenet. Enter a name and password for your account, and finish the account creation.
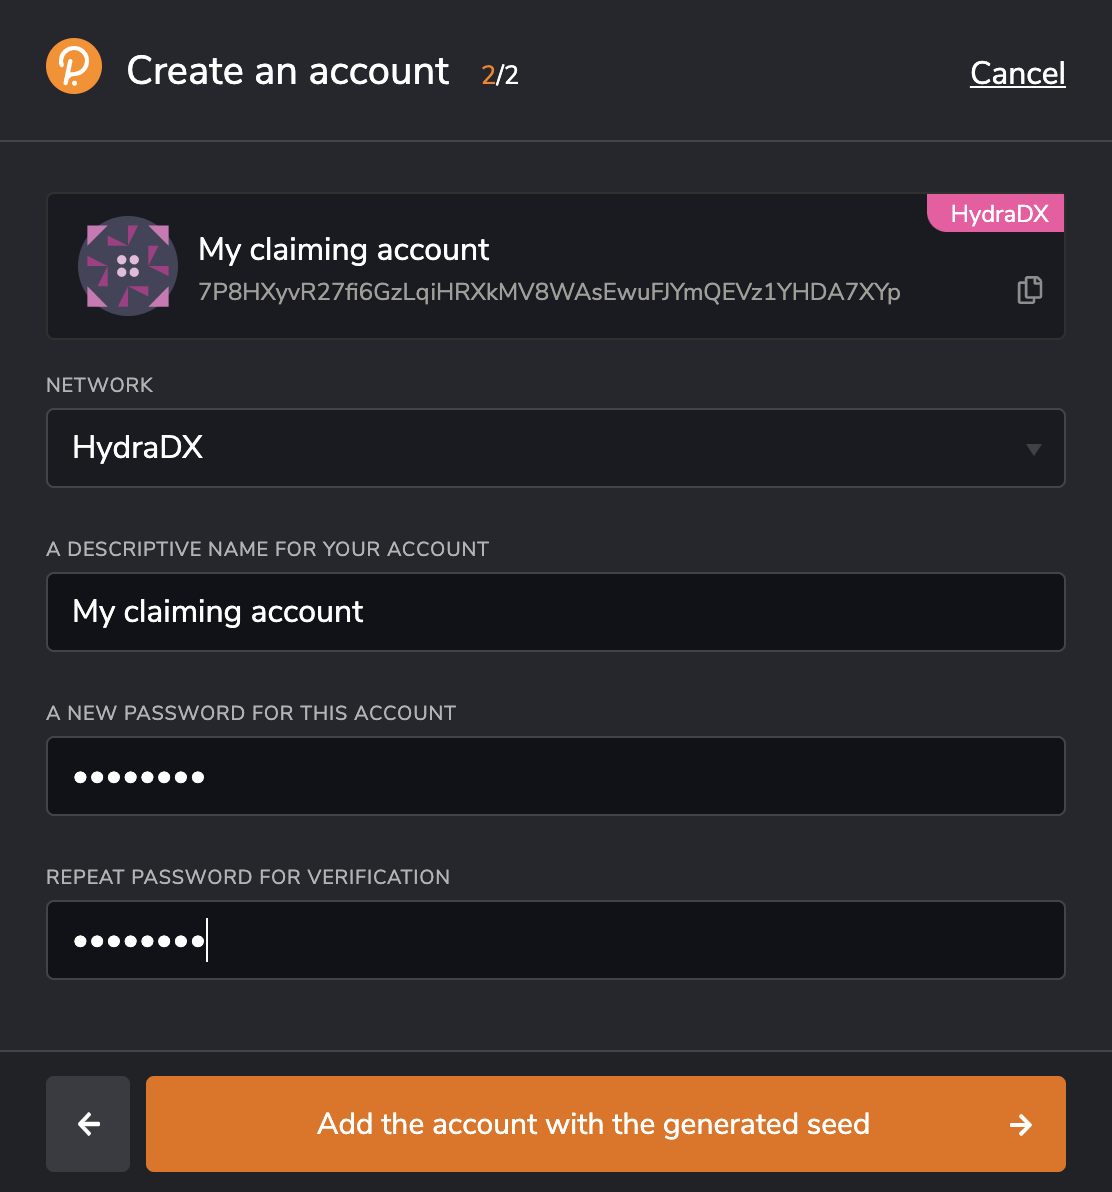
Make sure that you back up your recovery seed phrase by storing it in a safe place and never share it with anybody. Using the seed phrase is the only way you can recover your account and if you lose or leak it, your funds might be compromised. Please note that you need to secure your access to this wallet until the mainnet starts, as all HDX balances are currently locked. If you lose access to your HDX wallet you will also lose your HDX.
After creating your HDX account, you should be able to select it in the HydraDX Claim app. After doing so, the app should provide you with an overview of the ETH and HDX addresses used for the claim process. Click on next to proceed to signing the message.
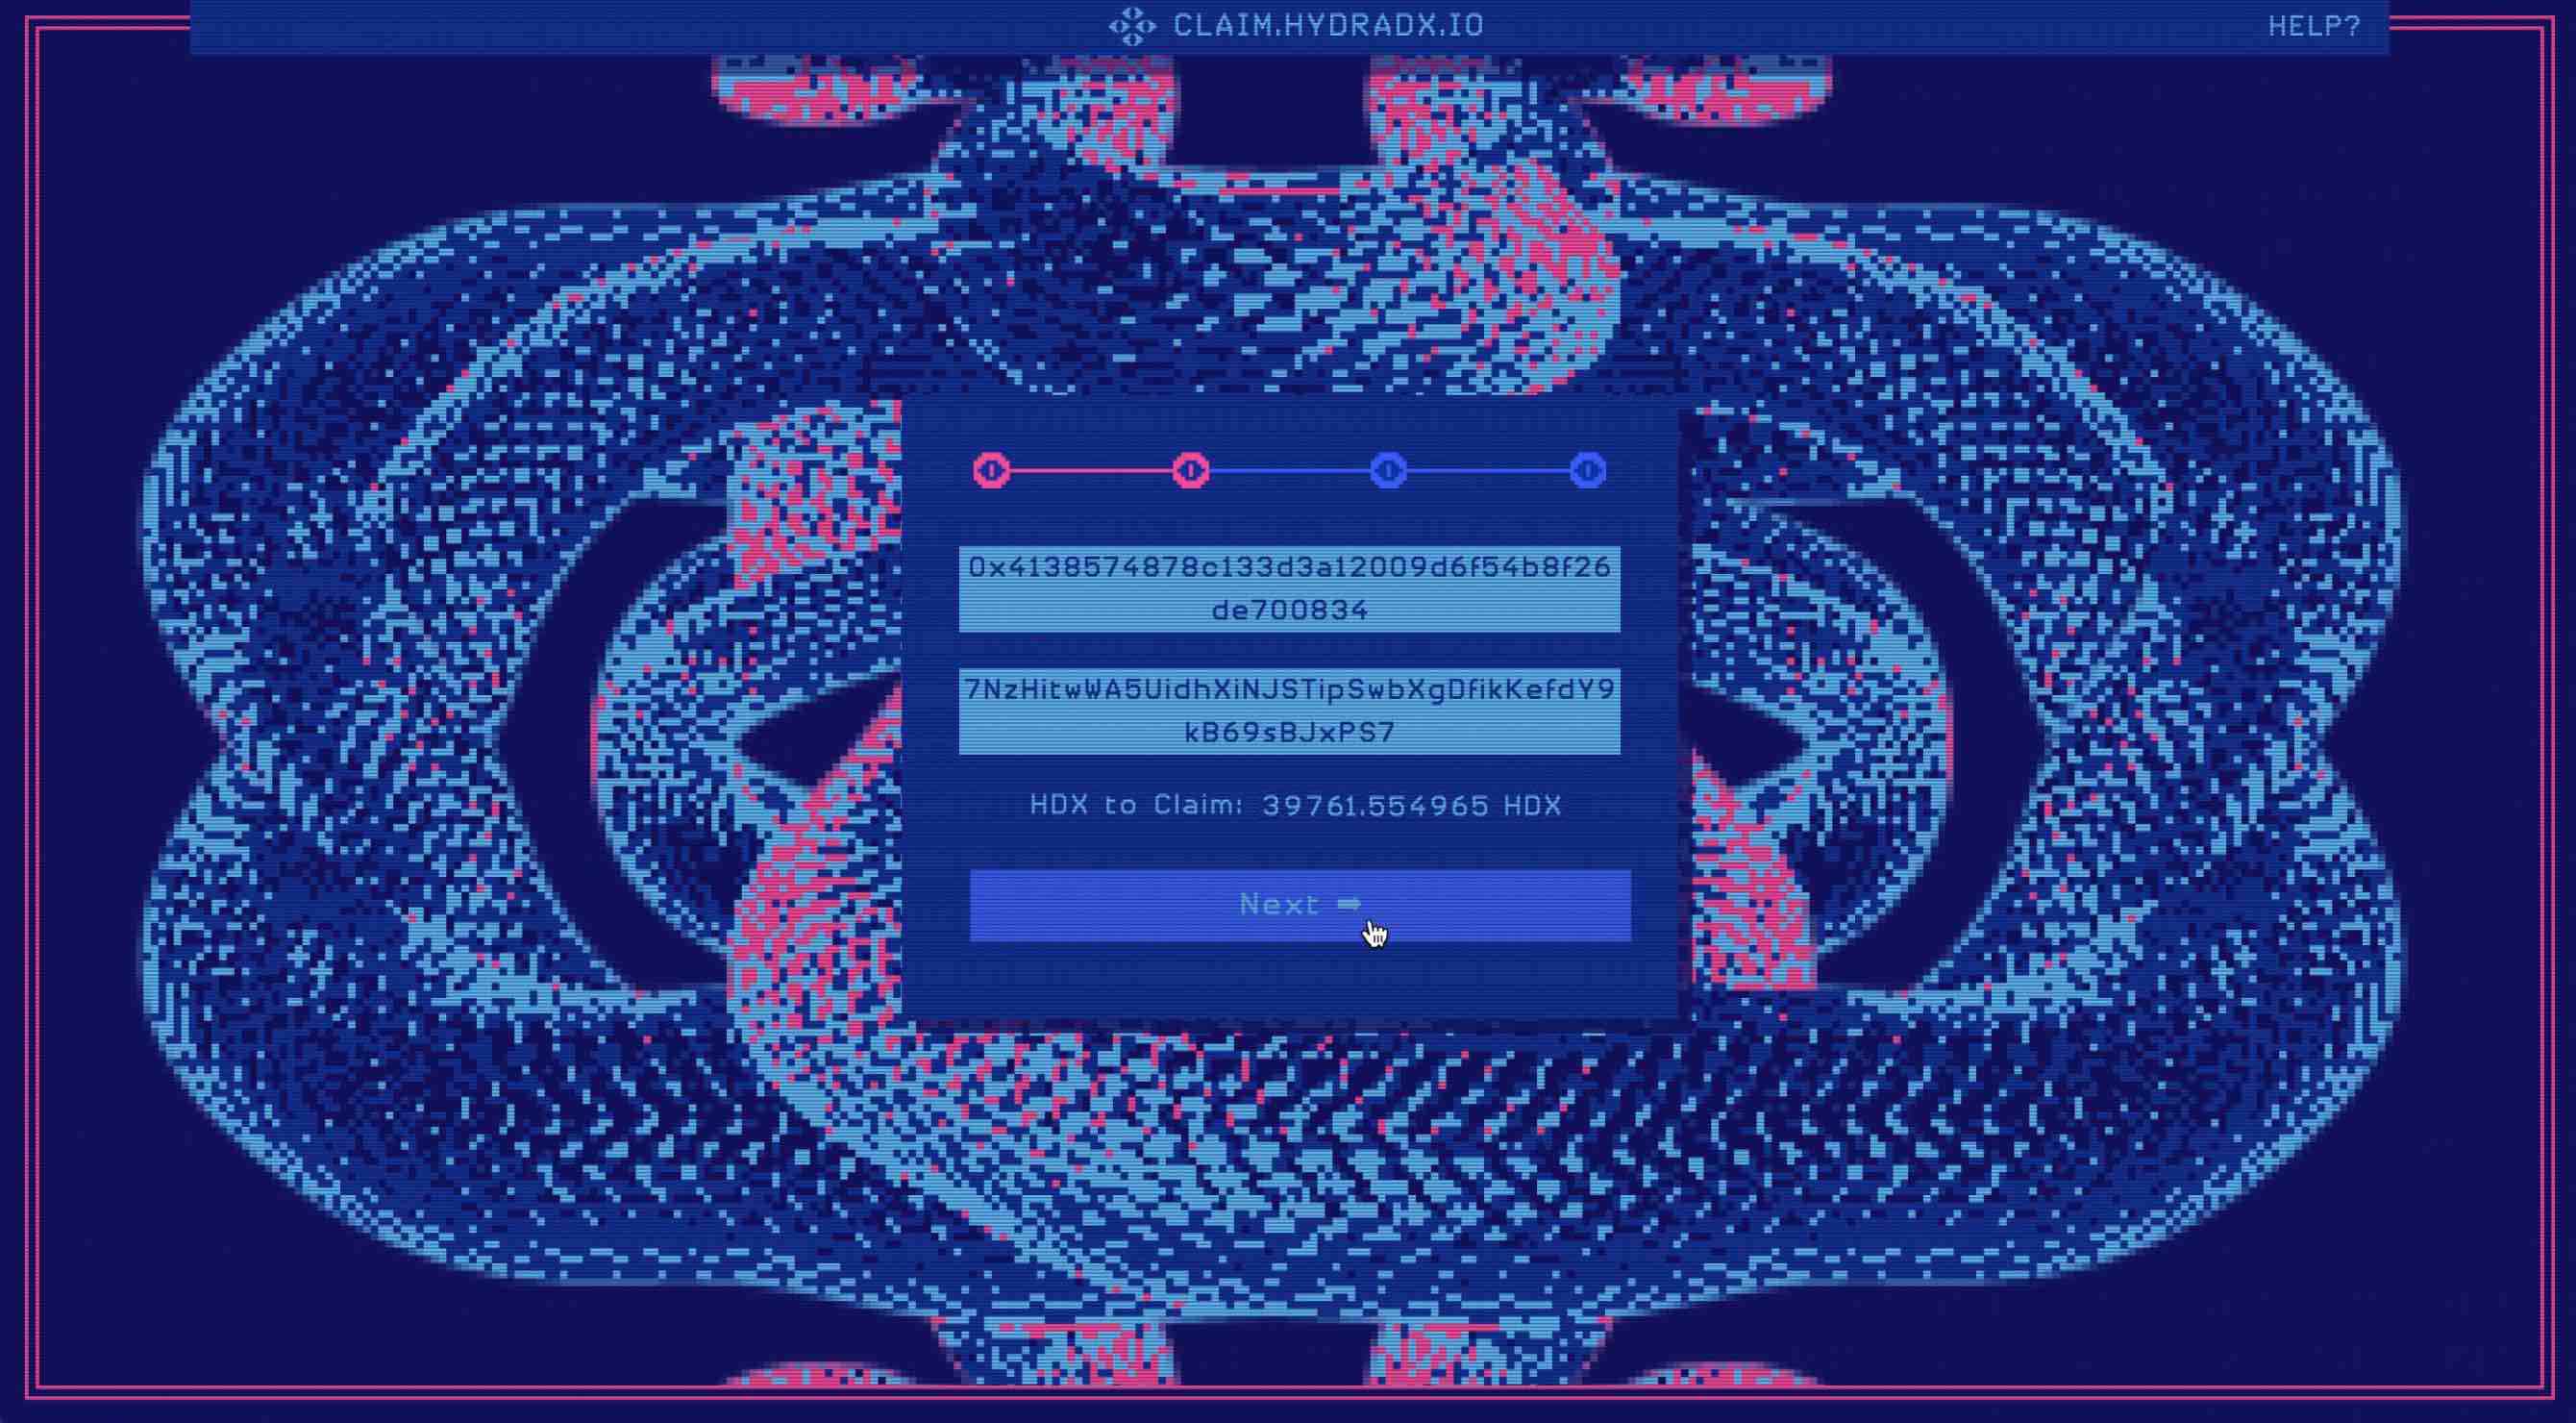
03 Sign
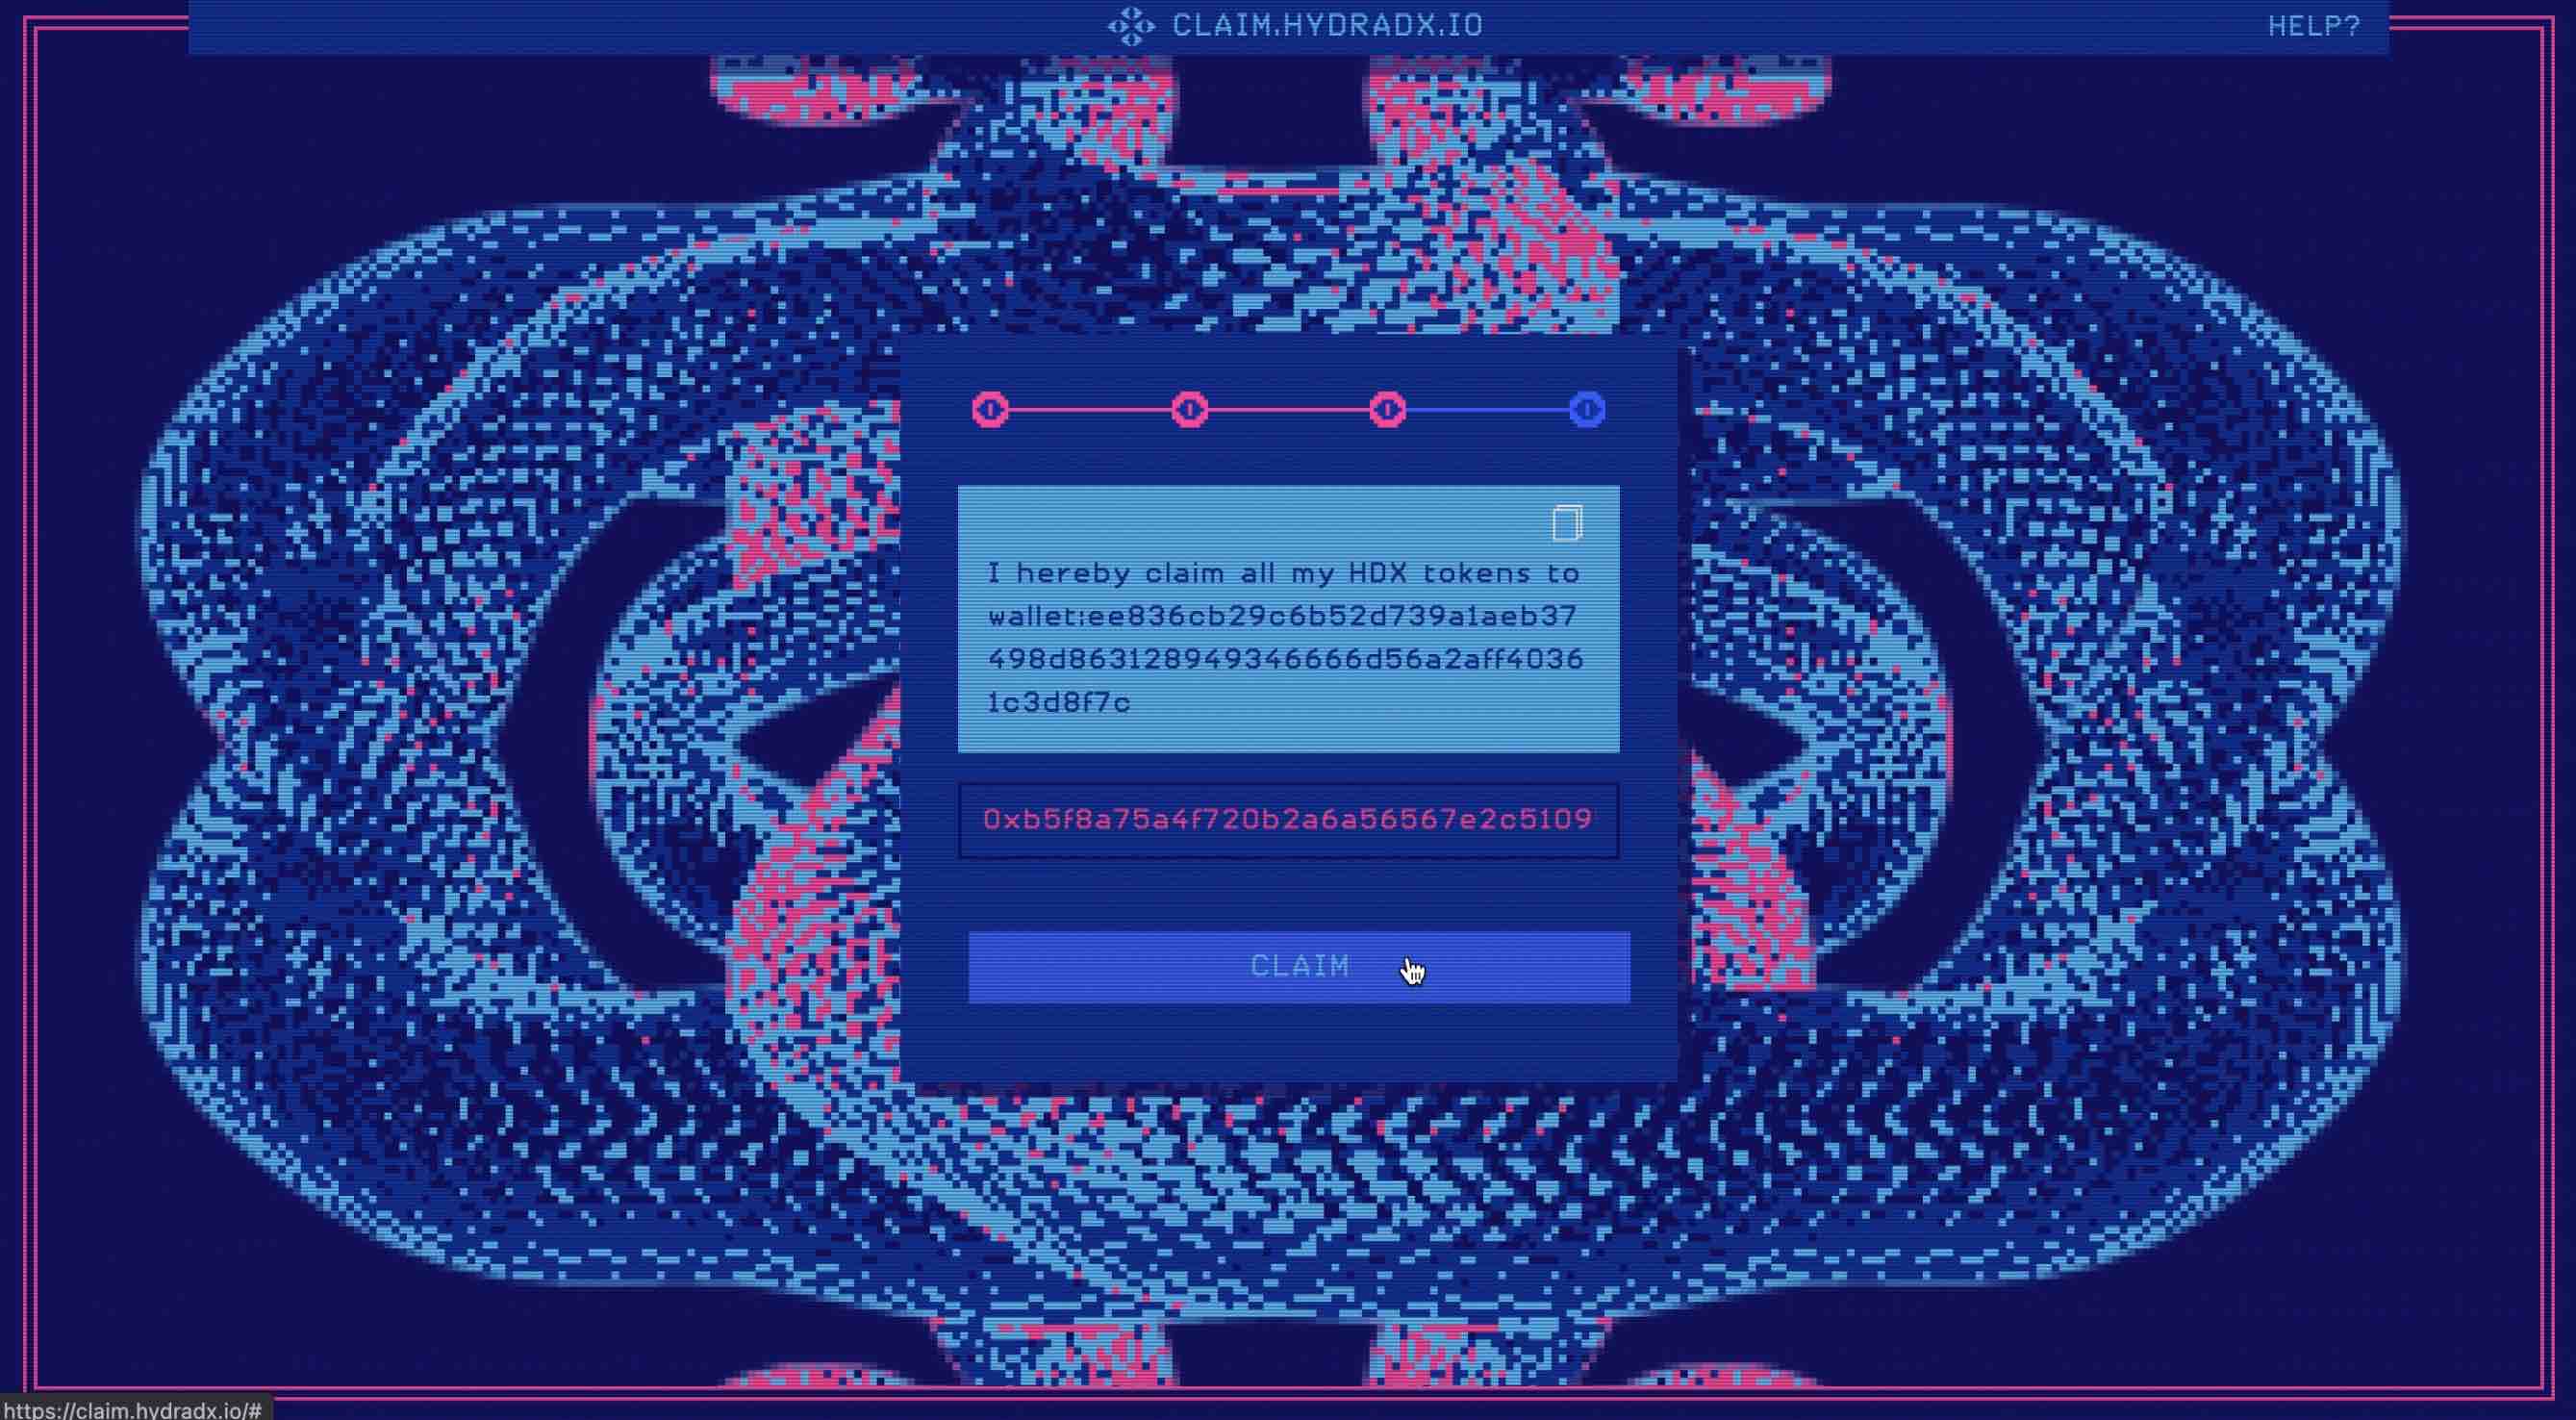
In the third step of the claim process using the HydraDX Claim app, you will be provided with the option to sign the message for using your xHDX tokens to claim HDX.
Please note that in this step you will see the public key of your HDX address, and not the address in its human readable form as it was displayed in the previous step and in your Polkadot.js browser extension (for more details refer to the ss58 docs). If you have followed all steps as described above, there is nothing to worry about and it is safe to proceed with signing the message. We will also verify that the HDX account you are using to sign the claim transaction at the final step corresponds with the account which is receiving the claimed HDX.
Depending on the choice you have made in the first step, you have two options to sign the message for using the xHDX tokens in the claim process:
If you are using Metamask, after clicking the Sign button you will be prompted by Metamask to sign the message. Follow the instructions in Metamask.
If you have entered your ETH address manually, you will need to sign the message through the external wallet that holds the private keys of your xHDX tokens. Once you have signed the message, copy the signature (starting with 0x) to the respective field in the HydraDX Claim app.
04 Claim
After signing the message with the wallet holding your xHDX tokens, the Polkadot.js extension should open and you will be asked to sign the transaction for claiming the HDX to your account. Enter your HDX account password, and click Sign the transaction.
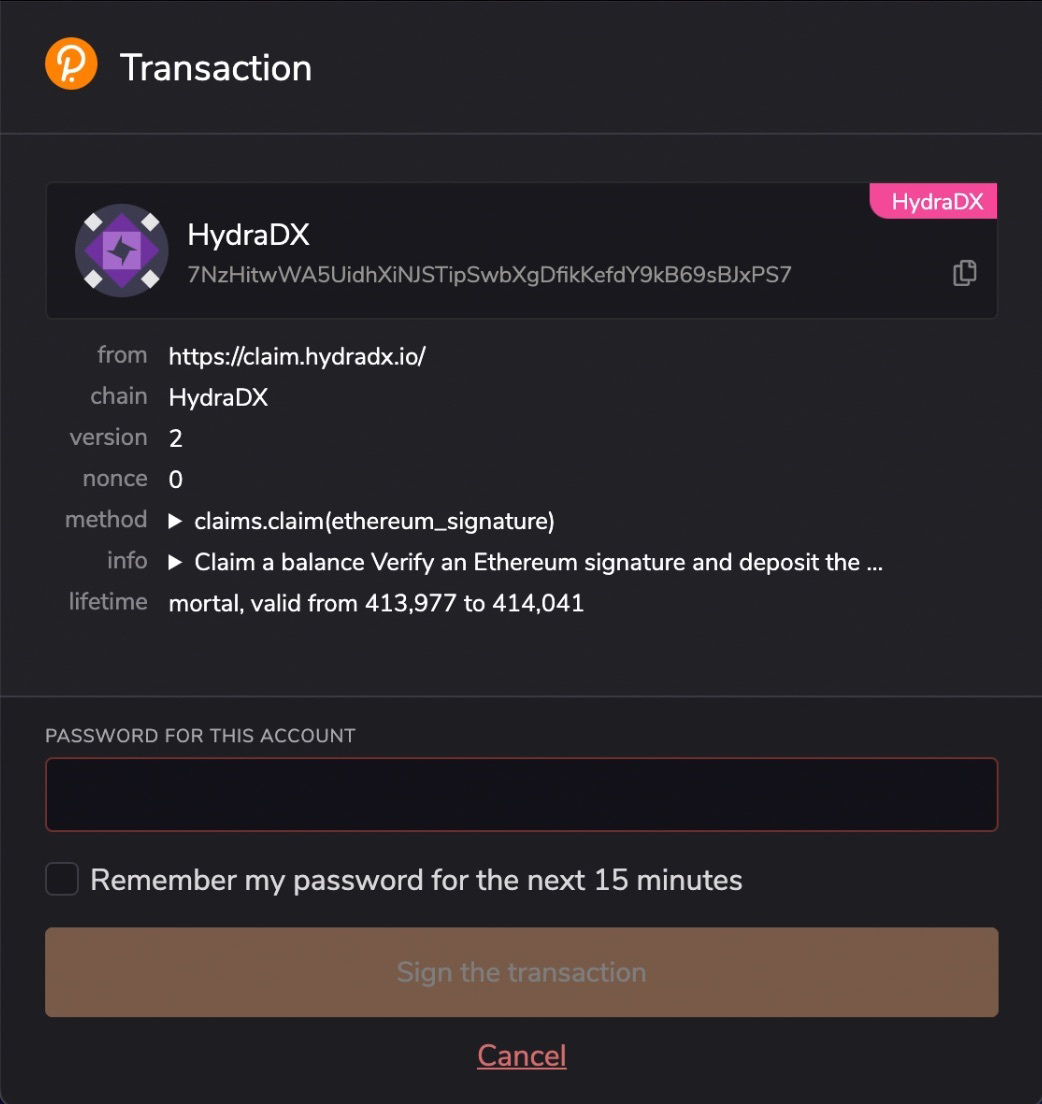
You have now completed the claim process, thereby officially becoming an HDX owner!
You can check your balance using Polkadot/apps connected to the HydraDX network: https://polkadot.js.org/apps/?rpc=wss%3A%2F%2Frpc.hydradx.cloud#/accounts