Set up a Development Chain
This section runs you through the process of setting up a local HydraDX chain instance for development.
01 Install dependencies
To prepare a local HydraDX chain instance for development, your machine needs to cover all dependencies for running a Substrate chain. You will need to install a Rust developer environment and make sure that it is configured properly for compiling Substrate runtime code to the WebAssembly (Wasm) target.
You can install and configure all dependencies manually following the Substrate guide, or you could let this script do all the work for you:
$ curl https://getsubstrate.io -sSf | bash -s -- --fast
$ source ~/.cargo/env
02 Build
Build the Wasm and native execution environments:
# Fetch source of the latest stable release
$ git clone https://github.com/galacticcouncil/HydraDX-node -b stable

# Build the binary
$ cd HydraDX-node/
$ cargo build --release
You should be able to find the build under ./target/release/hydra-dx.
03 Run
Before running your build you can purge any existing development chains on your machine (you will need to do this often in the development process):
$ ./target/release/hydra-dx purge-chain --dev
Run your build using one of the following commands:
$ ./target/release/hydra-dx --dev

# Run with detailed logging
$ RUST_LOG=debug RUST_BACKTRACE=1 ./target/release/hydra-dx -lruntime=debug --dev
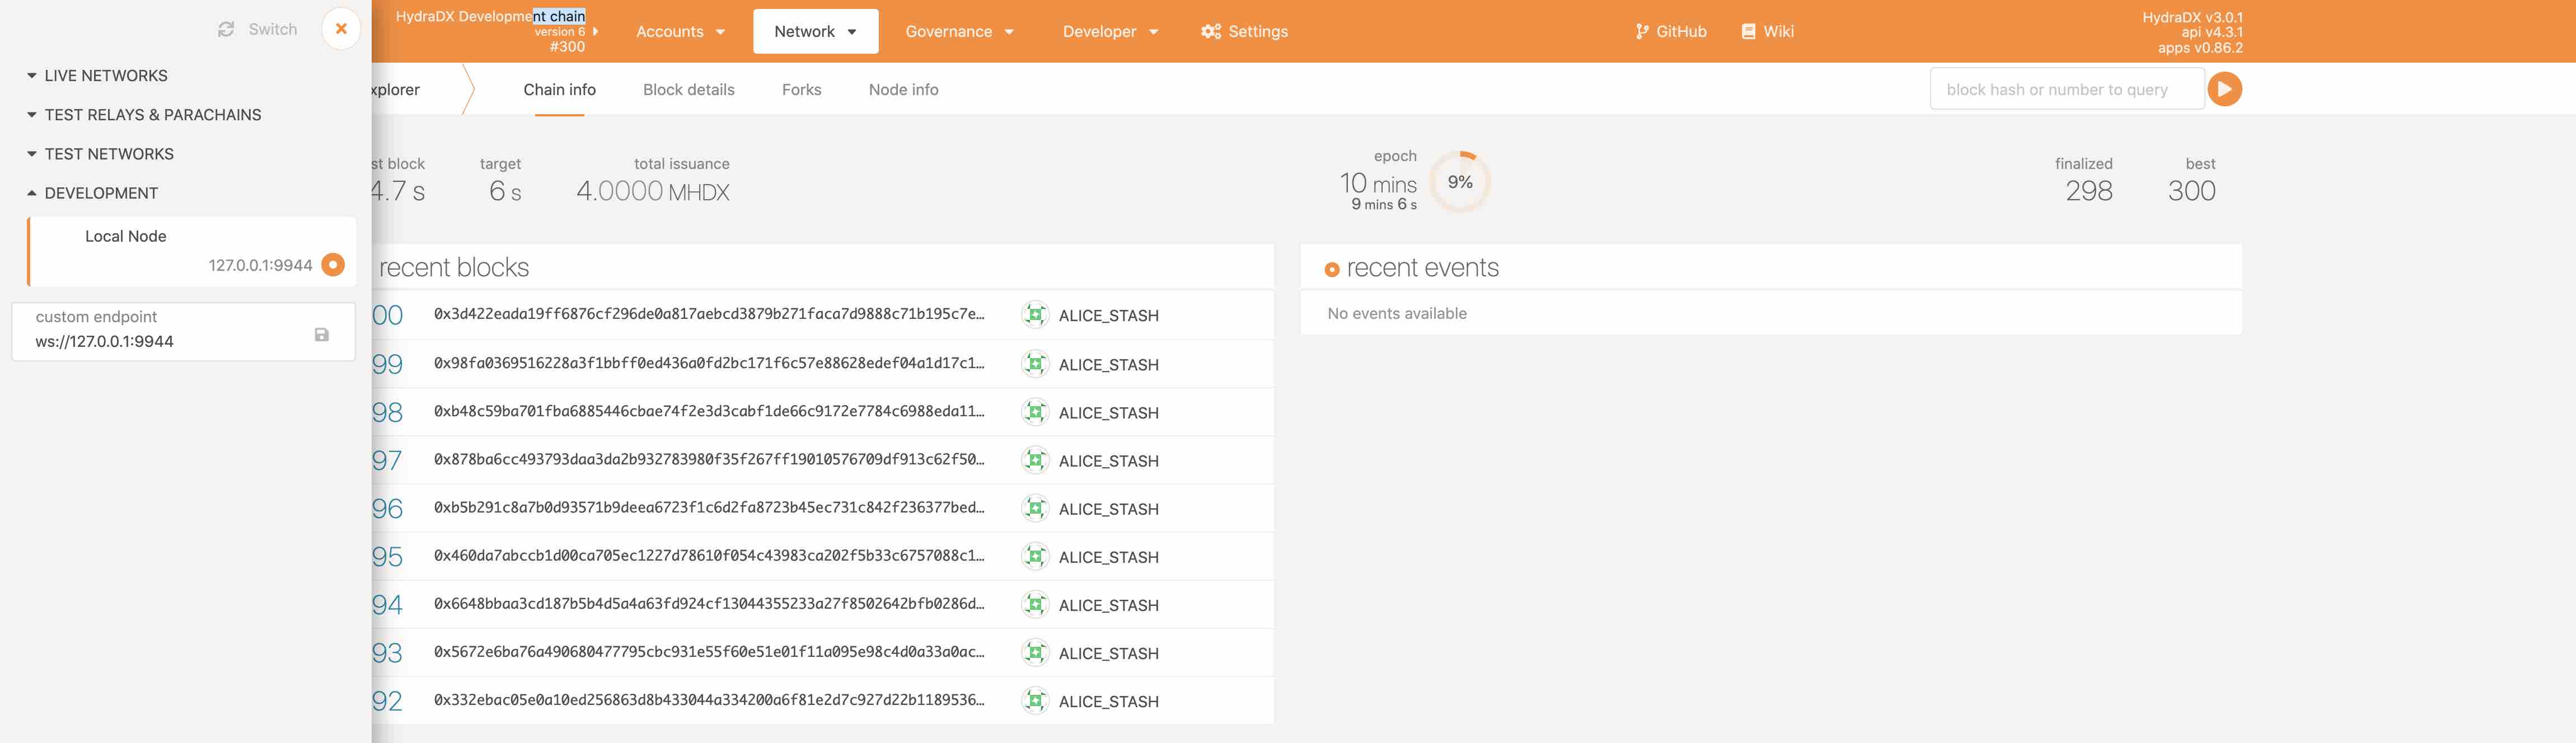
04 Connect to your local chain instance
You can connect to your HydraDX development node using Polkadot/apps and changing network to Development. You can also use this link:
https://polkadot.js.org/apps/?rpc=ws%3A%2F%2F127.0.0.1%3A9944#/explorer